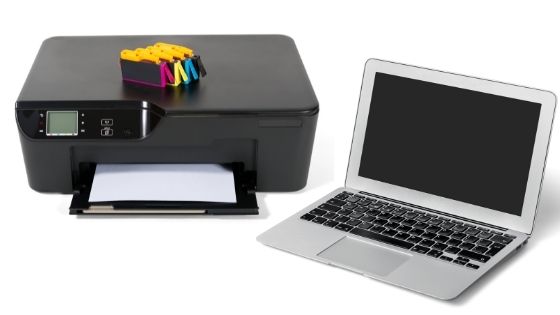
Canon is best known for manufacturing and distributing advanced imaging devices like cameras, printers, and medical equipment. Canon printers are available in various sizes. Users can purchase a small-size Canon inkjet printer for home use. You can take different sizes of printouts using inkjet at very good quality. These printers are very robust and easy to install. You can connect the Canon to the PC using the cable or the Wi-Fi.
Unboxing your Canon printer device
- Place the box on the surface and remove the tape
- Take out the printer and cartridge
- Check the box for cables, CD, and manual
- Remove the plastic tapes from the printer and cartridge
- Use a power cord for connecting the printer to electricity
- The lamp next to the power button will start glowing
- Now install the cartridge and check the PC for driver
Install Canon printer driver on Windows 10 PC
For using the Canon printer on PC; you have to install the driver. This printer driver allows your PC to communicate with the Canon printer. It is the software that acts as the bridge. Insert the CD and copy the setup on the system. For a system without a disc drive; download the setup. Open the Canon site and then you can download the driver. Now open the setup and install it on the device. After installing the driver; you can connect the printer using cable or Wi-Fi and then take the printouts easily.
Connecting Canon printer using the USB cable
- Open the PC and now check the cable
- Connect the Canon printer and PC using the cable
- Go to the computer and open the settings
- Choose Devices option
- Select Add a printer button
- Wait until the PC detects your printer automatically
- Click on your Canon printer name and follow the instructions
When you can’t find a Cancel printer then hit on Printer isn’t listed. The printer troubleshooter will start running and searching for the printer. Once you find the printer then check the driver on the system. You have to check the black sheets on the Canon printer. Open a file on the system and go to print. Your device will start printing the document.
Connecting Canon printer using Wi-Fi
You can also go for Canon printer wireless connection. You don’t need the cable and you can connect the printer quickly to any device. You have to open the Wi-Fi on your PC and check for printer settings
- Open your Canon printer and go the setup
- Use arrow keys and click on LAN settings
- Check the name of your PC
- Click on the name and type the password
After connection; you can take the printouts. Again, go to your PC and check the driver. If the driver is not available then install it on the system. Now restart the device and check Canon mg3600 wifi setup. Give the print command and now check for the connection issues.
Connecting Canon printer to the network using WPS
When you want to connect the Canon printer with the router; check the WPS pin. It is usually available on the backside of the printer. Enable the WPS pin and then check the printer for connection
- Press the Wi-Fi button of the Canon printer
- Wi-Fi lamp will start flashing and for finding the access point
- The lamp will stop flashing after the connection
- Load the blank sheets on Canon printer
- Hit and hold the Resume button until its alarm lamp flashes 15 times
- The network page will be printed
Check the printer for details like connection, SSID, etc. If all the details about the network are correct then your printer has connected to the network. Now you can take the printouts from various devices. Connect the PC to the same network and search for a printer. Make sure your system has the driver. Hit on the Canon printer from the available device list and then you can take your printouts easily. more info to visit: http://thdailymagazine.com/

